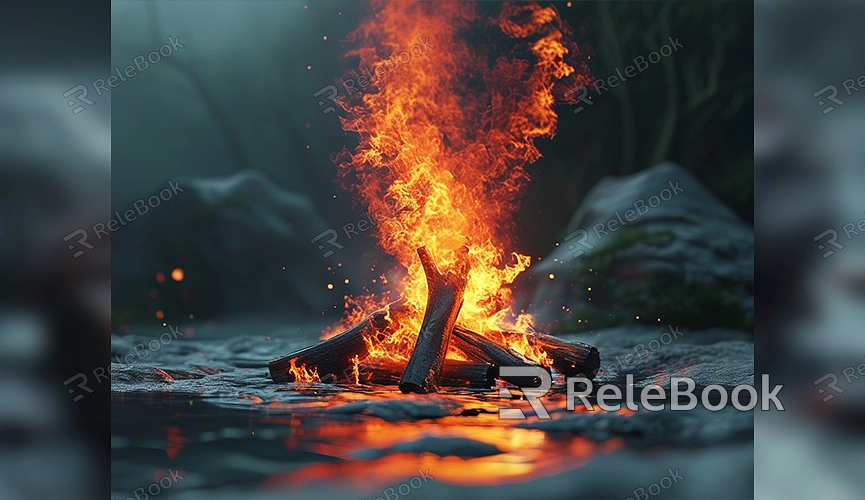
How to Render Fire in Blender Cycles
Rendering fire in Blender Cycles is a fascinating yet complex task that requires mastering several techniques and settings. Achieving a realistic and dynamic fire effect involves not just creating a simple fire image but also simulating the lighting and shadows that make the fire appear lifelike. This guide will explain how to render fire in Blender Cycles, covering fire setup, material adjustments, and rendering techniques.
1. Preparation
Before rendering fire, make sure Blender is set up properly. Open Blender and switch to the Cycles rendering engine. You can do this by selecting Cycles from the “Render” options at the top of the interface.
2. Creating a Basic Fire Model
To start, you need to create a basic fire model. Here are the steps to set up the fire:
- Add Smoke Simulation: In Blender, fire is usually paired with smoke effects. Choose a suitable object to serve as the base of the fire, such as a sphere or cylinder. In the “Physics Properties” panel, add a “Smoke” simulation to the object.
- Set Up a Smoke Domain: Select the object and, in the “Physics Properties” panel, set it as a "Smoke Domain." Adjust its size and position so that it encapsulates the entire fire area.
3. Configuring Fire Materials
To make the fire look realistic, you’ll need to adjust the material properties:
- Add Fire Material: In the “Material Properties” panel, create a new material. Choose the "Emission Shader" to simulate the light emitted by the fire. Adjust the color and intensity to give the fire a more natural look.
- Adjust Smoke Material: The smoke material is also important. Select the smoke domain object, go to the “Material Properties” panel, and create a new material. Use the “Volume Shader” and adjust it using either “Volume Absorption” or “Volume Scattering” to achieve the desired smoke effect.
4. Setting Up Fire Simulation
Animating fire is a crucial part of rendering. Follow these steps to set up the fire simulation:
- Set Smoke Simulation: In the “Physics Properties” panel, choose the “Smoke” simulation and set the smoke type to “Fire” or “Gas.” Tweak the fluid velocity, density, and other parameters to get the ideal fire effect.
- Bake the Smoke Simulation: To get a smooth fire animation, you need to "Bake" the smoke simulation. This process calculates and stores the simulation data for rendering. In the “Physics Properties” panel, select the “Smoke” simulation and click the “Bake” button.
5. Adjusting Lighting and Rendering Settings
To enhance the realism of the fire effect, lighting and rendering settings must be fine-tuned:
- Add Light Sources: Place appropriate light sources in the scene to boost the fire's lighting effect. You can use point lights, spotlights, etc., and adjust their intensity and placement as needed.
- Set Render Parameters: In the “Render” settings panel, adjust the sampling rate and the number of light bounces to achieve higher-quality renders. Increasing the sample rate will reduce noise but will also increase render time.
6. Rendering and Optimization
Once all the settings are in place, you can start rendering the fire:
- Preview the Render: Before the final render, use Blender's real-time preview function to inspect the fire effect. Make adjustments as necessary to ensure the fire's color and lighting meet your expectations.
- Render the Final Effect: After fine-tuning, click the "Render" button to generate the final image. If the render time is too long, consider optimization techniques such as lowering the resolution or reducing the number of light bounces.
If you need high-quality 3D textures and HDRIs for your models and virtual scenes, you can download them for free from [Relebook](https://textures.relebook.com/). For premium 3D models, check out [Relebook](https://3dmodels.relebook.com/), where you’ll find a vast collection of high-quality 3D resources to enhance the detail and realism of your fire renders.
Conclusion
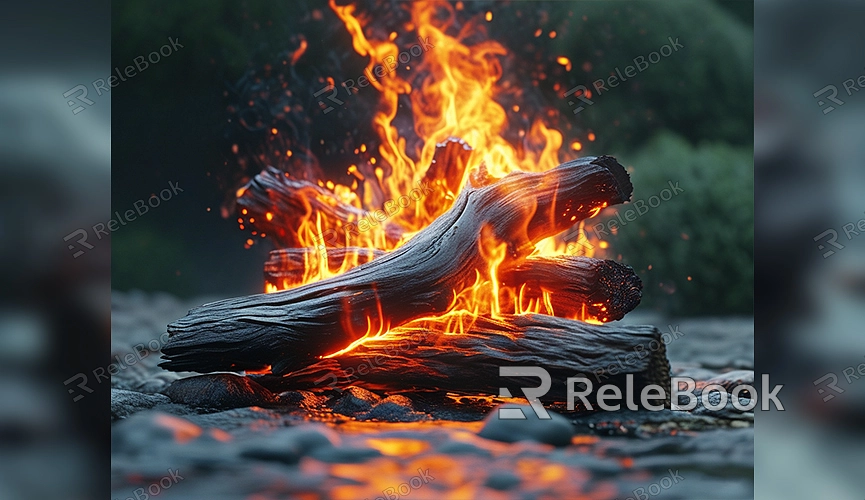
Rendering fire in Blender Cycles requires careful adjustments to the smoke simulation, fire materials, lighting, and other settings. By setting up the basic fire model, tweaking material properties, and simulating the fire correctly, you can achieve impressive fire effects. Continuous adjustment and optimization of your settings will help you create more realistic fire effects. We hope this guide helps you successfully render stunning fire in Blender and improve your 3D modeling and rendering skills.
